When setting up studio monitors, it’s vital to get the placement right to guarantee accurate sound reproduction. Start by positioning them at ear height and angling them 45 degrees towards your listening spot. This helps create a precise stereo image and reduces unwanted reflections. But placement alone isn’t sufficient; you’ll also need to take into account room acoustics. Acoustic treatments like foam panels, bass traps, and diffusers can greatly enhance your sound quality. Curious about how to measure room sound and integrate a subwoofer? Let’s explore these aspects to elevate your studio setup.
TL-DR
- Position monitors at ear height and angle them 45 degrees towards your listening spot for optimal sound.
- Create an equilateral triangle between yourself and the monitors to maintain a balanced stereo field.
- Use bass traps, diffusers, and absorption panels to manage room reflections and improve sound quality.
- Place monitors a few feet away from walls to minimize reflections and frequency build-up.
- Utilize isolation pads and stands to reduce vibrations and enhance monitor accuracy.
Key Takeaways
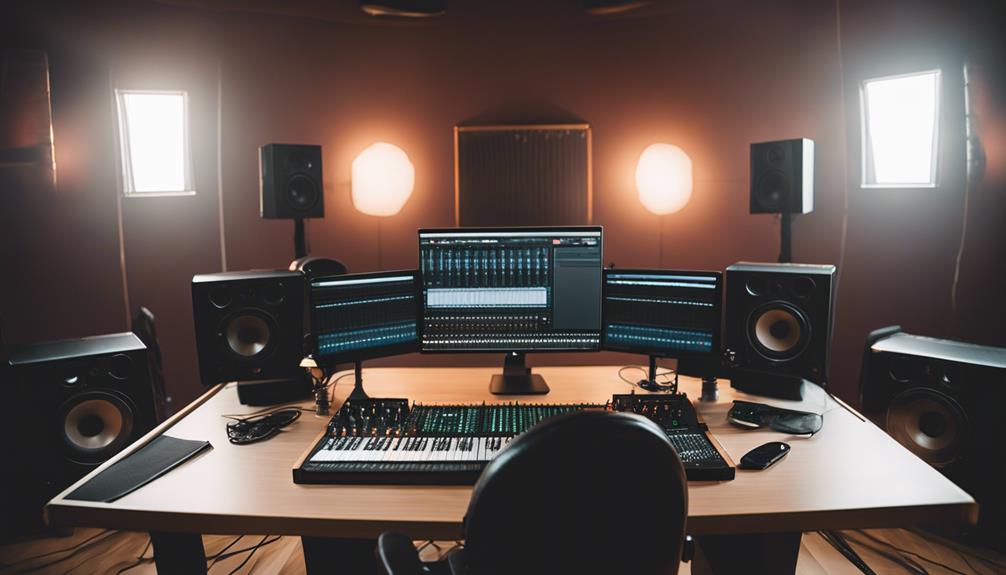
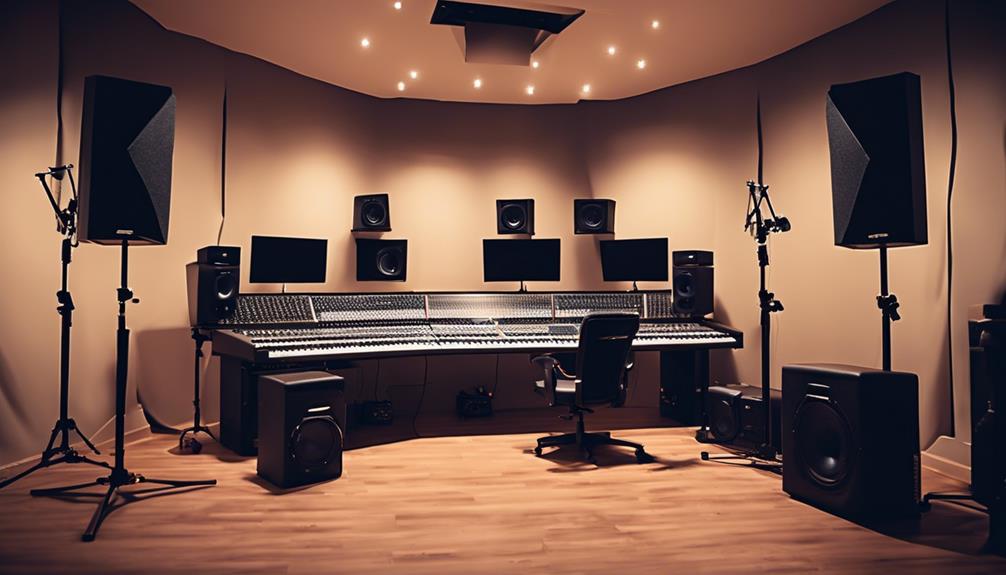
Proper studio monitor setup is essential for accurate sound reproduction and ideal audio quality. First, focus on monitor placement. Position your monitors at ear height and angle them 45 degrees towards your listening spot to create a best stereo field. This guarantees you hear the most precise representation of your mix.
Next, consider room acoustics. Reflections from walls, ceilings, and furniture can greatly impact how you perceive sound. To counter this, use acoustic treatment. Installing foam panels, bass traps, and diffusers can help manage these reflections and improve your room’s overall sound quality.
Subwoofer placement is another critical factor. For an even room response, try placing a single subwoofer slightly off-center. If you’re aiming for a flatter frequency response, using multiple subwoofers can be more effective. Proper subwoofer placement ensures the low frequencies are well balanced and accurately represented.
Fundamentals of Room Acoustics
To get the best sound from your monitors, you need to understand how sound waves behave in your room. Acoustic treatment types and ideal speaker placement are essential for managing reflections and achieving accurate sound.
Let’s explore how these elements impact your studio’s acoustics.
Sound Wave Behavior
Understanding how sound waves behave in your studio space is essential for achieving accurate audio during both recording and mixing. Wall reflections can cause standing waves, leading to frequency build-up, which distorts your sound perception.
When sound waves bounce off walls, ceilings, and furniture, they create reflections that interfere with the direct sound from your monitors. This interference can cause certain frequencies to be exaggerated or diminished, affecting your mix’s accuracy.
Rear walls reflect the most energy and frequencies, impacting the entire frequency spectrum. These reflections can create a muddled sound if not properly managed. Desks also contribute to this issue, particularly around 250 Hz, which influences the midrange frequencies important for a balanced mix.
Ceiling reflections, especially in rooms with tall ceilings, can significantly alter sound quality, making it harder to achieve an accurate representation of your audio.
Acoustic Treatment Types
Effective acoustic treatment transforms your studio space, ensuring your monitors deliver clear and accurate sound. To achieve this, you’ll need to understand the primary types of acoustic treatment: bass traps, diffusers, and absorption panels.
Bass traps are essential for managing low-frequency sound waves. Low frequencies tend to build up in the corners of your room, creating resonances that muddy your mix. By placing bass traps in these corners, you absorb these problematic low frequencies, leading to a more balanced sound.
Diffusers, on the other hand, scatter sound reflections. Instead of sound waves bouncing directly back to your ears, diffusers break up these reflections, creating a more balanced acoustic environment. This scattering effect prevents harsh echoes and helps maintain a natural room ambiance, important for accurate monitoring.
Absorption panels are designed to minimize sound reflections in your studio. They work by soaking up mid to high-frequency sounds that would otherwise bounce around your room. Strategic placement of absorption panels can greatly improve clarity in both recording and mixing by reducing unwanted reverberation.
Optimal Speaker Placement
Positioning your studio monitors correctly is crucial for achieving an accurate and balanced sound. Start by understanding how room affects play a critical role in your monitor placement. Sound reflects off surfaces like walls, ceilings, and furniture, impacting the frequency spectrum you hear.
To minimize these reflections, place your speakers away from walls, as closer monitor placement can increase low-end frequency build-up, distorting your mix.
Create an equilateral triangle between you and your monitors for ideal speaker placement. This means the distance between the monitors should be equal to the distance from each monitor to your listening position. This setup helps ensure that both speakers deliver sound evenly, providing a more accurate stereo image.
Avoid placing your monitors directly on your desk, as midrange reflections around 250 Hz can muddy your sound. If possible, use monitor stands to elevate your speakers to ear level, reducing reflections from the desk surface.
Additionally, be mindful of rear wall reflections, as they reflect the most energy and frequencies in the room. Ideally, position your monitors a few feet away from the rear wall to minimize these reflections.
Room Effects on Sound
Sound reflections in your studio can greatly alter the accuracy of your monitor’s output. The room you’re working in plays an important role in how sound waves behave. When sound waves hit surfaces like walls, ceilings, and furniture, they reflect back into the room, creating reflections that can interfere with the direct sound from your monitors.
These reflections can lead to issues like standing waves, where certain frequencies are amplified or diminished, making it difficult to achieve a balanced mix.
Reflection off the rear wall is particularly vital, as it reflects the most energy and affects the entire frequency spectrum. If your monitors are too close to the wall, you’ll experience an increase in low-end build-up, which can muddy your sound and lead to inaccurate mixing decisions. It’s essential to be aware of these room effects, especially in minimal studio setups where poor acoustics can have a significant impact on sound perception.
To combat these issues, consider using acoustic treatment like bass traps and diffusers. These can help to minimize reflections and standing waves, giving you a more accurate representation of your monitor’s output. Understanding how your room affects sound is important for creating mixes that translate well across different listening environments.
Studio Monitor Placement
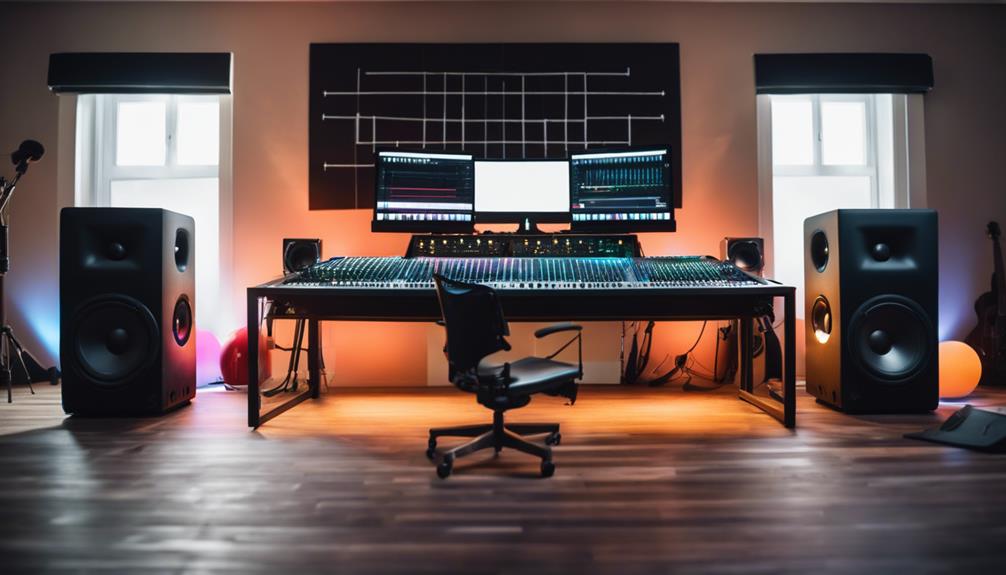
When setting up your studio monitors, make sure they’re at ear height and form an equilateral triangle with your listening position for the best sound.
Keep them away from walls to avoid unwanted reflections and angle them toward you for a balanced stereo field.
Don’t forget to use monitor isolation pads to reduce vibrations and enhance sound clarity.
Ideal Speaker Height
To achieve accurate sound projection, set your studio monitors so their tweeters are at ear level. This height adjustment ensures you get the most precise high-frequency response, which is important for a clear and accurate mix. When the tweeters are at ear level, high frequencies reach your ears directly, providing a true representation of your audio.
You’ll want to make sure that your studio monitors are positioned to create an ideal stereo field. This means having the tweeters at the same height as your ears, whether you’re sitting or standing at your mixing desk. Achieving this involves adjusting the height of your monitor stands or using adjustable shelves.
Also, angle your monitors slightly behind your head to minimize direct sound interference. This helps in creating a balanced stereo image and a more immersive listening experience. You can use tools like speaker isolation pads to absorb any vibrations, which further enhances sound quality by preventing unwanted resonance.
Distance Between Monitors
Position your studio monitors approximately 43 inches from the front wall to minimize reflections and optimize sound projection. This distance helps reduce unwanted echoes and guarantees a clear, accurate audio experience.
Additionally, make sure your left and right monitors are equidistant from the side walls. This significance is essential for maintaining a balanced stereo image and avoiding phase issues.
When setting up your monitors, consider these essential steps:
- Measure accurately: Use a tape measure to make sure both monitors are exactly the same distance from the front wall and side walls.
- Adjust spacing: The distance between monitors should form an equilateral triangle with your listening position, providing consistent sound across the stereo field.
- Fine-tune EQ settings: Utilize the onboard EQ settings on your monitors to tailor the sound based on their placement. This can help compensate for any acoustic anomalies caused by the room layout.
Rear-ported monitors need special attention. Position them away from the wall to prevent bass build-up, which can muddy your audio. Proper placement, combined with tweaking the EQ settings, will give you a clear and accurate soundstage, essential for any professional mixing environment.
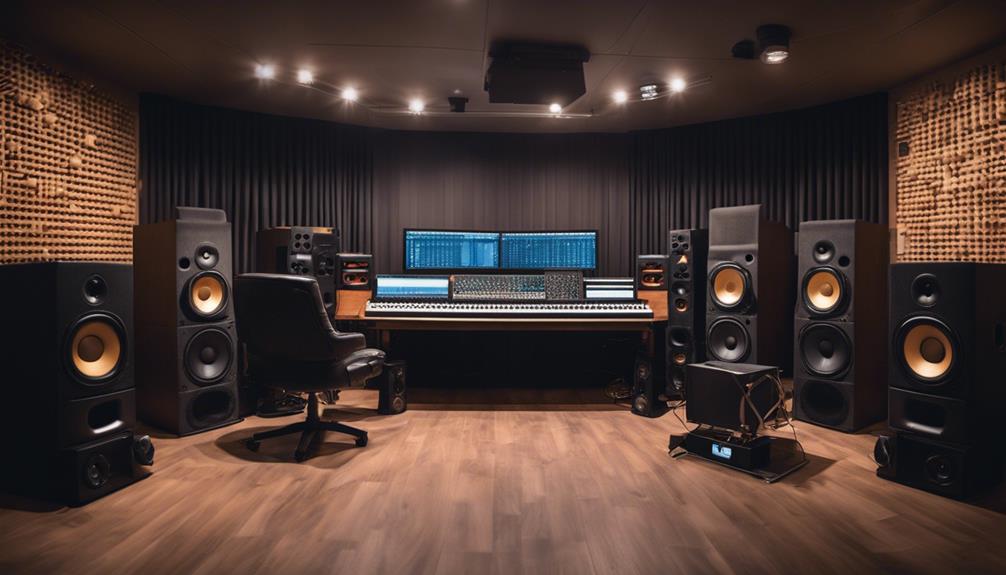
Room Acoustic Treatment
Now that you’ve positioned your monitors correctly, let’s focus on room acoustic treatment to further enhance sound quality. Effective monitor setup goes beyond just positioning; it involves treating your room to minimize reflections and standing waves.
Start by placing your studio monitors at an equilateral triangle with the listening position. This setup optimizes sound quality and imaging when listening to speakers.
To improve room acoustics, incorporate acoustic panels, bass traps, and diffusers. Acoustic panels absorb mid to high frequencies, reducing unwanted reflections. Bass traps target low-frequency issues, minimizing standing waves that can muddy your sound.
Diffusers scatter sound waves, preventing audio from bouncing directly back to your ears, enhancing sound accuracy.
Don’t overlook monitor isolation pads and stands. These help isolate your monitors from desks and floors, cutting down vibrations and reflections that can distort sound. Additionally, make sure your monitors are placed away from walls, corners, and other reflective surfaces to maintain clarity and accuracy in your listening environment.
Measuring Room Sound
Measuring room sound is essential for achieving the best audio quality in your studio. Tools like Room EQ Wizard, along with high-quality Neumann and Genelec monitors, help you analyze and understand your room’s acoustic characteristics. By doing this, you can make informed decisions on how to adjust your setup for the best sound.
Here’s why you should measure your room sound:
- Identify Problem Areas: Measuring your room reveals specific frequencies that cause issues, allowing you to target them with acoustic treatment solutions like foam panels and bass traps.
- Optimize Speaker Performance: Using tools like speaker tone controls and DSP speaker management, you can fine-tune your Neumann and Genelec monitors to adapt to your room’s unique acoustics.
- Enhance Overall Sound Quality: Addressing these issues means you’ll enjoy a more accurate and enjoyable listening experience, important for both mixing and mastering.
Don’t forget to utilize monitor isolation pads and desktop stands to further reduce unwanted reflections and vibrations.
Speaker Adjustment Tips
Let’s talk about maximizing the performance of your studio monitors by focusing on ideal speaker placement and adjusting speaker levels.
Start by positioning the tweeters at ear level and angling the monitors towards your listening spot.
Pay attention to speaker isolation and fine-tune placement to achieve balanced and accurate sound reproduction.
Optimal Speaker Placement
For essential speaker placement, position your studio monitors at ear level to guarantee accurate sound projection. This setup ensures the audio is directed precisely where it needs to be for the most authentic listening experience.
When arranging your monitors, make sure they’re angled towards your listening spot to achieve ideal stereo imaging.
To perfect your studio setup, follow these important tips:
- Equilateral Triangle: Position your monitors and listening spot to form an equilateral triangle. This means the distance between each monitor and your listening position should be the same. This arrangement helps you capture a balanced stereo field.
- Distance from Walls: Keep your monitors at least 8-12 inches away from walls. This distance minimizes reflections and unwanted acoustic interference, offering a cleaner sound.
- Isolation Pads or Stands: Use isolation pads or stands to decouple your monitors from surfaces. This reduces vibrations and improves the overall sound quality, ensuring your speakers perform at their best.
Adjusting Speaker Levels
To achieve a balanced and accurate listening experience, start by adjusting your speaker levels to guarantee consistent sound output across frequencies. Begin by playing pink noise through your monitors, which helps in setting speaker levels equally. Use a sound level meter to measure the output from each speaker, ensuring they match in volume. This step is essential for maintaining consistent monitor levels.
Next, check for phase coherence between your speakers. Improper phase alignment can lead to cancellations and phase issues, severely affecting your sound quality. Place both speakers in their intended positions, and play a mono signal to ensure that the sound is centered and clear. If you notice any anomalies, adjust the phase settings on your monitors until the sound is coherent.
Fine-tuning your speaker levels based on room acoustics and your listening position is also important. Move around your room and listen for any inconsistencies in volume or frequency response. Make small adjustments to your monitor levels as needed to achieve the best sound quality.
Acoustic Treatment Solutions
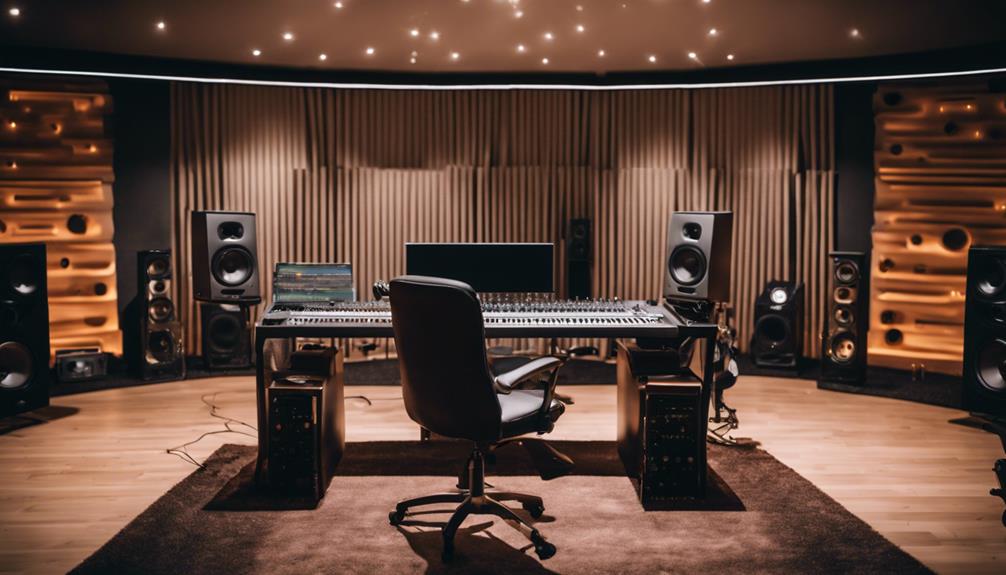
Effective acoustic treatment solutions, such as foam panels, bass traps, and diffusers, are essential for controlling reflections and standing waves in your studio. These elements play a vital role in minimizing room-induced coloration and ensuring accurate sound reproduction.
Start by placing your studio monitors on sturdy monitor stands, ensuring ideal speaker placement to avoid any floor reflections. Next, install bass traps in the corners of your room; these will help manage low-frequency buildup that can muddy your sound.
Wall panels are another critical component. By placing foam panels on the walls, you can absorb mid to high frequencies, preventing them from bouncing around the room.
Here’s a quick guide to get you started:
- Install Bass Traps: Place them in the corners to control low frequencies.
- Set Up Wall Panels: Position them at the first reflection points to absorb mid-to-high frequencies.
- Add Diffusers: Use them to scatter sound waves evenly, creating a more balanced listening environment.
Investing in products like AcouFoam Acoustic Panels or a Vicoustic VicStudio Box Treatment Kit can greatly enhance your room’s acoustics. By addressing these elements, you’ll create a studio environment that’s ideal for critical listening and professional audio production.
Recommended Studio Monitors
When selecting studio monitors, it’s essential to evaluate models like the Yamaha HS7, Focal Shape 65, and Genelec 8341APM for their superior sound accuracy and reliability. These monitors are renowned for their precise frequency response and consistent sound level, making them ideal for professional audio monitoring.
The Yamaha HS7 is known for its flat response, ensuring you hear your mix exactly as it is. Proper placement is key; position them away from the wall to minimize bass buildup and reflections.
The Focal Shape 65 offers impressive clarity and dynamic range, perfect for detailed audio work. Positioning these monitors at ear level will provide an accurate sound field and an excellent listening experience.
The Genelec 8341APM stands out with its advanced technology and compact design, delivering precise frequency performance even in challenging acoustic environments. Placing them symmetrically in your studio will help maintain a balanced stereo image.
Acoustic Treatment Products
Investing in high-quality acoustic treatment products like AcouFoam Acoustic Panels and the Vicoustic VicStudio Box Treatment Kit can significantly improve your studio’s sound quality and control. These products are specifically designed to manage sound reflections and enhance room acoustics, making your studio setup more effective and enjoyable.
When setting up your studio, proper acoustic treatment is crucial. Here’s why:
- Enhanced Sound Quality: Acoustic treatment products absorb unwanted sound reflections, ensuring that what you hear is accurate. This allows for better mixing and mastering decisions.
- Improved Room Acoustics: By incorporating wall panels, bass traps, and diffusers, you can control the sound within your room. This minimizes issues like standing waves and flutter echoes.
- Achieving Professional Results: Good room acoustics help you achieve a professional sound, making your studio setup comparable to those in high-end facilities.
AcouFoam Acoustic Panels are excellent at absorbing mid to high frequencies, giving you a clearer and more balanced sound. The Vicoustic VicStudio Box Treatment Kit offers a thorough solution, including various types of panels and traps to cover all aspects of acoustic treatment.
Investing in these products ensures that your studio isn’t just a place to work but a space where sound quality reigns supreme.
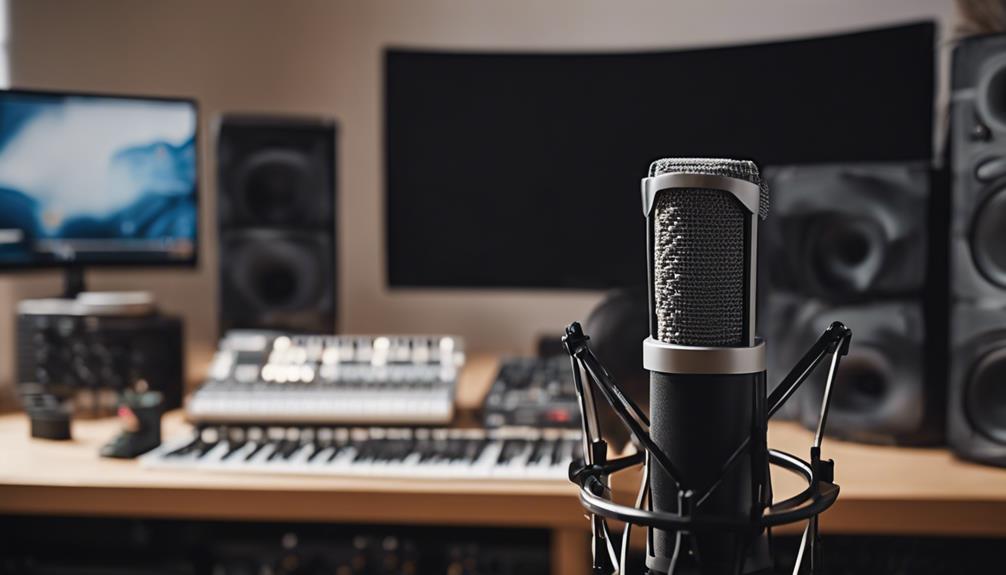
Measurement Microphones
Measurement microphones play a crucial role in accurately analyzing your studio’s acoustics and monitor performance. These microphones capture sound pressure levels with great precision, allowing you to identify frequency response variations that may affect your mixing environment. By pinpointing these variations, you can make informed decisions about acoustic treatments and monitor placement.
To guarantee the highest accuracy, many measurement microphones come with calibration files. These files are tailored to specific microphones and account for any inherent inaccuracies, providing a more precise measurement. When you pair these calibration files with powerful software like Room EQ Wizard, you gain a complete toolset for optimizing your room’s acoustics.
Measurement microphones come in various types, such as omnidirectional or directional, catering to different applications. Omnidirectional mics are typically preferred for their ability to capture sound from all directions, making them ideal for room analysis. On the other hand, directional mics can be useful in specific scenarios where you need to isolate sound from a particular source.
Subwoofer Integration
Incorporating a subwoofer into your studio setup can greatly enhance your ability to accurately monitor low frequencies. Subwoofers handle sounds below 85 Hz, allowing your main monitors to focus on mid and high frequencies.
To smoothly integrate your subwoofer, adjust the crossover frequency to match your main monitors. This guarantees a smooth shift and prevents any gaps or overlaps in the frequency spectrum.
When setting up a single subwoofer, place it slightly off-center along the front wall. This placement helps distribute bass evenly throughout the room.
If you really want to fine-tune your setup, consider using multiple subwoofers. This approach can further balance out the room response and minimize localization issues with low frequencies.
To get the best performance, you should:
- Align the crossover frequency: Match it with your main monitors for seamless integration.
- Optimize placement: Position your subwoofer slightly off-center along the front wall.
- Consider multiple subwoofers: Use more than one to even out room response and improve low-frequency localization.
Lastly, make sure the phase at the crossover frequency is properly aligned. This synchronization guarantees a cohesive sound between your subwoofer and main monitors, making your mix more accurate and reliable.
Tweeter Positioning
Proper tweeter positioning is essential for achieving accurate high-frequency sound reproduction and ideal stereo imaging in your studio. To get the best results, make sure the tweeters on your speakers are at ear level. This guarantees that the direct sound is projected right towards you, which is vital for hearing all the subtle details in your audio.
The height of the tweeters plays a significant role in how you perceive high-frequency sounds. If they’re too high or too low, you might miss out on important elements of your mix. Positioning them at ear level helps maintain clarity and detail, giving you a precise audio playback experience.
It’s also important to angle the tweeters towards your ears. By doing this, you make sure the direct sound reaches you without any distortion, which is key for top performance. This setup minimizes phase issues and improves sound localization, helping you pinpoint where each sound is coming from in the stereo field.
Reducing Listening Fatigue
Reducing listening fatigue starts with setting up your studio monitors for accurate sound reproduction. When your monitors are properly positioned, you’ll experience balanced mixes and minimal room-induced coloration, making your listening sessions much more comfortable.
Here’s how you can achieve this:
- Essential Monitor Placement: Guarantee your monitors are at ear level and form an equilateral triangle with your listening position. This enhances stereo imaging, preventing fatigue by delivering a clear and precise soundstage.
- Acoustic Treatment: Reduce reflections by adding acoustic panels and bass traps. This improves sound quality and reduces strain on your ears during long sessions.
- Accurate Sound Reproduction: Calibrate your monitors to your listening environment. This reduces the need to crank up the volume, which can strain your ears and lead to listening fatigue.
Accurate sound translation is vital; it leads to less strain on your ears over time. By reducing reflections and improving overall sound quality, you’ll enjoy a more pleasant and less fatiguing listening experience.
Implementing these steps in your studio monitor setup ensures you can mix longer without discomfort, making your workflow more efficient and enjoyable.
Next up, learn how to make beats in this guide.