Setting up a drum set might seem challenging, but with a systematic approach, you can do it efficiently. Begin by gathering all your drum kit components and placing them within reach. Next, position the drum throne at a height that keeps your thighs parallel to the ground, ensuring a straight back posture for stability. Now, the essential part comes in, positioning the bass drum centrally for best sound distribution and attaching the pedal securely. Wondering how to place the snare drum and adjust the cymbals for easy reach and comfort? Let’s explore the next steps in detail to perfect your setup.
TL-DR
- Adjust the drum throne height for parallel thighs and comfortable pedal reach.
- Secure the bass drum and attach the pedal ensuring the beater hits the center.
- Place the snare drum slightly left of the bass drum and adjust for comfortable playing.
- Position cymbals within easy reach, ensuring secure attachment and optimal playing angles.
- Arrange toms angled towards you and secure them for stability and comfortable access.
Gather Your Drum Kit Components
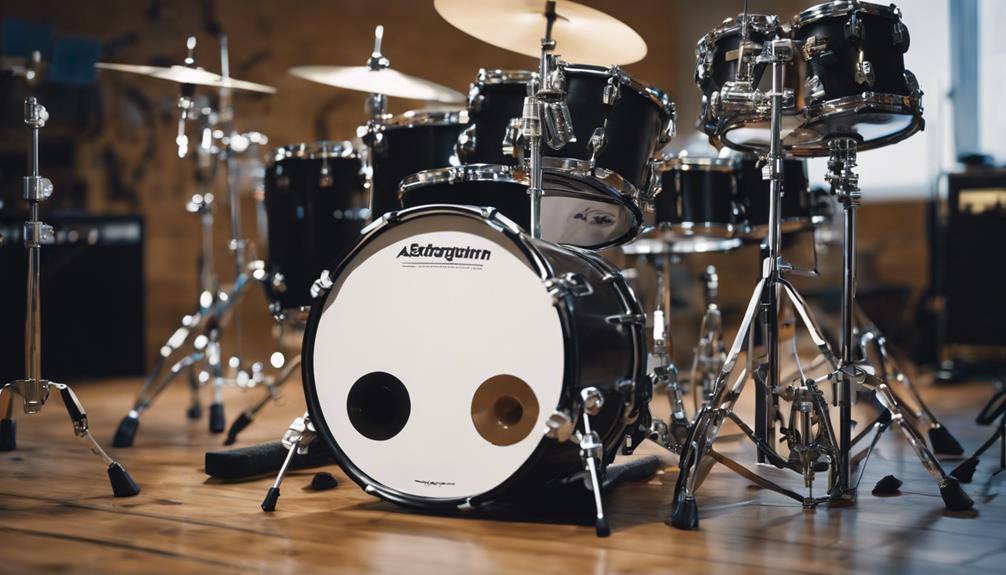
Before you start setting up, make sure you’ve gathered all the essential components of your drum kit. This step is important to guarantee a smooth and efficient setup process. Begin by identifying the primary parts of your drum set: the bass drum, snare drum, toms, bass drum pedal, drum throne, and cymbals. Lay everything out in an organized manner so you can easily see if anything’s missing or damaged.
First, check your bass drum. Ensure it’s in good condition, and don’t forget the pedal.
Next, move on to the snare drum. This drum is crucial for keeping the rhythm, so double-check it for any issues. Gather your toms and ensure you have the right number and sizes for your set.
Now, focus on your cymbals. You’ll typically need a hi-hat, crash, and ride cymbal. Inspect each one for cracks or damage.
Position the Drum Throne
With all your drum components gathered, it’s time to position the drum throne. Start by adjusting the height of your drum throne so that your thighs are parallel to the ground. This initial setup ensures you’ll have a comfortable and essential position while playing.
You should also position the throne directly in front of the bass drum, allowing your feet to comfortably reach the pedals.
To maintain good posture, keep your back straight while sitting on the throne. This helps prevent back strain during extended drumming sessions. The stability of the throne is vital too; make sure it doesn’t wobble as you play. A stable throne will provide a solid foundation for your drumming.
Here are key points to remember:
- Adjust the height: Your thighs should be parallel to the ground.
- Position properly: Sit directly in front of the bass drum.
- Maintain posture: Keep your back straight to avoid strain.
- Ensure stability: The throne shouldn’t wobble.
Experiment with different throne heights to find what feels most comfortable for you. Finding the right height and position will make a significant difference in your overall playing experience and posture.
Set Up the Bass Drum
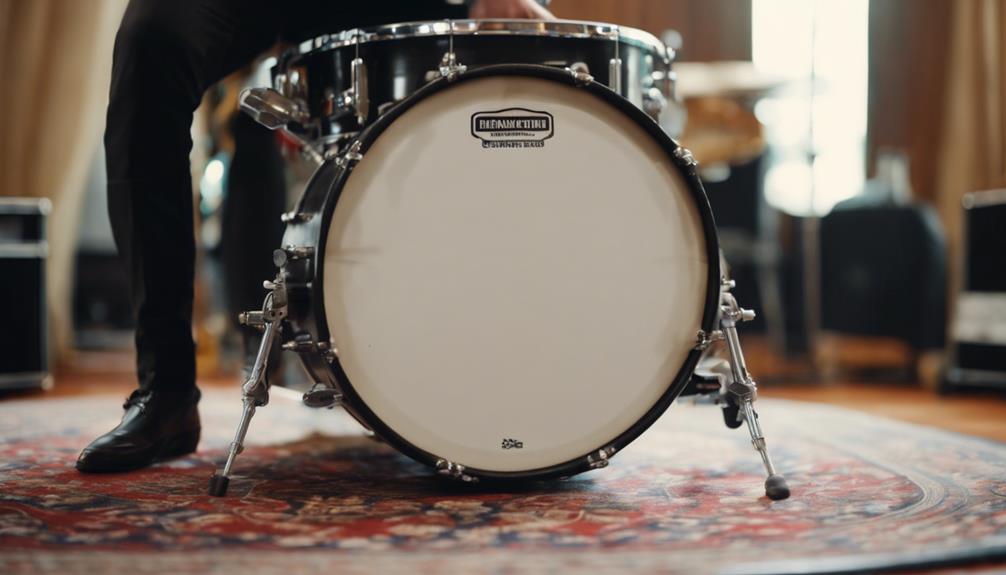
To set up the bass drum, begin by centering it in the kit for balanced sound distribution.
Guarantee the bass drum legs are adjusted equally and dig into the floor to prevent wobbling.
Then, attach the pedal securely, making sure the beater strikes the center of the drum head for the best sound.
Position Bass Drum Correctly
Centering the bass drum in front of you sets the foundation for the entire drum set. Begin by positioning the bass drum so it faces directly toward you, creating a balanced setup. Adjust the bass drum legs equally on both sides to guarantee the drum is stable and won’t shift while you play. Make sure they’re hitting the floor firmly; the spikes or rubber feet should dig in for a secure base.
Next, angle the bass drum slightly away from your body. This angle allows for easier and more comfortable access to the pedal, ensuring you can play without straining. The goal is to have the pedal in a position where the beater strikes the center of the drum head, providing the best sound quality.
Here are some key points to remember:
- Bass drum legs: Adjust them equally for stability.
- Angle: Slightly away from your body for comfortable pedal access.
- Pedal positioning: Guarantee the beater hits the center of the drum head.
- Floor contact: Make sure the legs securely dig into the floor.
Attach Pedal Securely
Secure your bass drum pedal to the hoop using the provided clamp or bracket, making sure it’s centered for best control. This positioning is important for achieving ideal foot control and balance while playing.
Once you’ve attached the pedal securely, it’s time to adjust the beater height. The beater should strike the center of the drum head to produce a consistent sound and response. Use the adjustment mechanism on your pedal to fine-tune the beater height accordingly.
Next, focus on the pedal tension knob or screw. This component allows you to control the feel and responsiveness of your bass drum pedal. Adjust the tension to your preference, whether you like a loose, smooth action or a tighter, more responsive feel. It’s all about what feels right under your foot.
After making these adjustments, check for stability. Make sure that the pedal is firmly attached and won’t move during play. Tighten any loose hardware to prevent slippage, which can disrupt your performance. A stable pedal setup is essential for maintaining rhythm and precision.
Adjust Drum Spikes
Now that your pedal is securely attached, let’s adjust the bass drum spikes to guarantee your drum stays in place during play. Start by positioning the bass drum spikes on the legs so they dig into the floor. This prevents the drum from sliding around while you play. To maintain stability and a consistent sound, adjust both legs equally. This keeps your bass drum level and centered in your drum kit setup.
Properly setting the bass drum spikes involves a few important steps:
- Stability: Make sure the spikes are firmly in contact with the floor to prevent movement.
- Center Placement: The bass drum should be centered for balance and ease of playing.
- Angle: Adjust the position of the drum slightly away from your body for better foot pedal access and comfortable posture.
- Equal Adjustment: Both legs should be adjusted equally to maintain a level drum.
Taking the time to correctly adjust these components will help control vibrations and enhance the drum’s sound quality. A well-adjusted bass drum means you can focus on your playing without worrying about your drum shifting or losing balance.
Attach the Bass Drum Pedal
Always begin by positioning the bass drum pedal directly in front of the bass drum with the beater aimed at the center of the drum head. This guarantees that every strike is effective and produces a consistent sound.
Next, attach the bass drum pedal securely to the bass drum hoop using the provided clamp or screws. The clamp should grip the hoop firmly to prevent any unwanted movement during play.
After attaching the pedal, you’ll need to adjust the tension. This step is vital because the tension determines how much force is required to strike the drum head. A well-adjusted pedal ensures the beater hits the drum head with just the right amount of power. You can usually find a tension adjustment screw or knob on the pedal itself.
Once you’ve adjusted the tension, focus on tightening the clamp under the pedalboard. This adds stability and ensures the pedal doesn’t wobble or shift while you’re playing.
Make sure the pedal is positioned comfortably for your foot, allowing for natural movement and ease of play. Properly setting up the bass drum pedal is key to achieving top-notch sound and performance, so take your time to get it just right.
Place the Snare Drum

To place the snare drum, start by positioning it slightly to the left of the bass drum for easy reach.
Adjust the height so you can comfortably hit the drum head, and consider the angle for ergonomic comfort.
Make sure it’s securely placed to prevent any movement while playing.
Snare Drum Height
Position the snare drum slightly to the left of the bass drum for easy access and ideal playing comfort. To achieve the best snare drum height, start by sitting on your drum throne with your feet flat on the floor. Adjust the height of the snare drum so that the drumhead is level with or just above your waistline. This guarantees comfortable hitting and allows for effective rimshots.
Here are some tips to help you set the snare drum height correctly:
- Adjust the height: Begin with the drum at waist level and make small adjustments up or down.
- Tighten the brackets: Once you’ve found a comfortable height, make sure the brackets are securely tightened to prevent movement during play.
- Experiment with heights: Don’t be afraid to try different heights to find what feels best for you.
- Tilt the snare drum: While focusing on height, you can also tilt the snare slightly forward to improve playing ergonomics.
Snare Drum Angle
When setting the snare drum angle, slightly tilt it towards you to enhance stick control and comfort. This tilting helps you achieve a vital and ergonomic playing position, reducing wrist strain during long practice sessions. To do this, adjust the snare drum angle by loosening the stand’s tilt mechanism and gently shifting the drum until you find the ideal angle.
Make sure the snare drum is securely placed on the stand to guarantee stability while you play. A wobbly snare can disrupt your rhythm and potentially damage the drum. Double-check that all screws and locks are tightened after you’ve set your desired angle.
Positioning the snare drum correctly is important for an effective setup. By tilting the snare drum towards you, you optimize stick response, which is particularly beneficial for intricate rhythms and fast playing.
Snare Drum Position
Placing the snare drum slightly to the left of the bass drum guarantees easy access and a natural playing position. Start by setting the snare drum height to a comfortable level, ideally just above your thigh when you’re seated. This allows you to maintain ideal stick control and hit the drum with ease.
Next, make certain that the snare throw-off mechanism is positioned on the left side. This setup allows for quick engagement and disengagement of the snares, so you can adapt to different playing styles on the fly. Consider tilting the snare drum slightly towards you. This adjustment not only offers better visibility but also enhances your playing comfort, reducing wrist strain.
Make sure the snare drum is securely placed in its stand basket. A securely placed snare prevents any unwanted movement or shifting during intense play, keeping your rhythm steady and consistent.
Here’s a quick checklist to help you set up the snare drum position effectively:
- Position the snare slightly to the left of the bass drum.
- Adjust the height to a comfortable level above your thigh.
- Set the snare throw-off mechanism on the left side.
- Tilt the snare drum towards you for better comfort and visibility.
Following these steps ensures your snare drum is perfectly positioned for an ideal drumming experience.
Install the Hi-Hat Stand
To install the hi-hat stand, place it to the left of your seat for easy access while playing. Begin by making sure the hi-hat stand has stable contact with the ground. This will prevent any wobbling that could disrupt your rhythm. Once the stand is secure, attach the cymbals.
Start with the bottom hi-hat cymbal, securing it in place on the stand. Then, attach the top cymbal using the clutch.
Next, you’ll want to adjust the tension of the hi-hat clutch. This is important because it controls how open or closed the cymbals will be when you press the pedal. Finding the right balance here will give you better control over your sound.
After adjusting the tension, test the hi-hat’s function by pressing the pedal. This step is vital to ensure smooth operation. If the movement feels stiff or the cymbals don’t close properly, readjust the tension until it feels right.
Position the Hi-Hat Cymbals

To position your hi-hat cymbals, start by adjusting the pedal height to suit your foot’s natural position.
Next, set the cymbals at a height that matches your hand level for comfortable playing.
Adjust Pedal Height
Start by adjusting the hi-hat cymbals to a height that feels comfortable for easy access and playing. Begin by confirming your hi-hat stand is stable and secure to avoid any wobbling during play. You’ll want your hi-hat cymbals positioned so that the top cymbal sits slightly higher than the bottom one, allowing for a clean sound.
To adjust the pedal height, follow these steps:
- Test the hi-hat pedal: Make sure it provides smooth open and close motions without any resistance.
- Fine-tune the height: Adjust the hi-hat pedal height to match your playing style and comfort.
- Check for stability: Ensure the hi-hat stand is stable and doesn’t move during use.
- Personal preference: Make small adjustments until you find a setup that feels right for you.
A comfortable height for the hi-hat cymbals can vary depending on your personal preference and playing style. Some drummers prefer a higher setting for easier foot control, while others might like it lower for quicker access. Spend some time experimenting to find what works best for you.
After making these adjustments, you’ll be ready to move on to setting your cymbals at the preferred heights.
Cymbals Height Preference
When positioning your hi-hat cymbals, aim to place the top cymbal slightly above eye level for easy access and visibility. This initial height ensures you can comfortably see and strike the cymbals.
Adjust the hi-hat stand so the cymbals are within comfortable reach, allowing you to play without straining. The foot pedal’s height and angle should also be balanced to guarantee smooth foot operation. It’s important that the foot pedal feels responsive and not too stiff or too loose.
Cymbal placement is vital for both comfort and performance. Make sure that the hi-hat cymbals are secured tightly to avoid any wobbling or instability. Don’t hesitate to experiment with different heights and angles to find what works best for your playing style.
Customizing your setup can greatly enhance your drumming experience, making it more enjoyable and less physically taxing.
Angle for Comfort
Position your hi-hat cymbals at an angle that guarantees easy access and comfortable playing. When setting up your drum kit, getting the angle and height of your hi-hat cymbals right is important. Start by adjusting the hi-hat stand height so the cymbals align with your hands when you’re seated. This ensures you’re not overreaching or straining during play.
Finding the perfect angle for your hi-hat cymbals involves some experimentation. Tilt the top cymbal slightly towards you for better stick control and quicker rhythms. Here are some key points to take into account:
- Hi-Hat Stand Height: Make sure it’s set so your hand naturally falls on the cymbal without excessive reach.
- Comfortable Angle: Tilt the top cymbal to a degree that feels most natural when striking.
- Ergonomic Position: Your arm should form a slight bend, avoiding full extension to reduce fatigue.
- Smooth Motion: Ensure the hi-hat clutch allows for effortless opening and closing during play.
Properly positioning your hi-hat cymbals not only enhances your drumming dynamics but also ensures comfortable and efficient playing. Remember, a comfortable angle and ergonomic position are essential for long-term performance and avoiding strain.
Arrange the Rack Toms
To arrange the rack toms effectively, angle them for easy reach and secure them on either the bass drum or a separate stand. Start by positioning the rack toms at a slight angle towards you. This positioning guarantees easy reach and enhances playability. Make sure to mount the toms securely, whether on the bass drum or a separate tom stand, to maintain stability during your drumming sessions.
Adjust the height of the rack toms to create a comfortable playing position. Your arms should bend naturally, allowing you to strike the toms with minimal effort. If the toms are too high or too low, you’ll strain your wrists and compromise your drumming technique. Aim for a setup where you can move fluidly between drums.
Consider the spacing between the rack toms to guarantee smooth shifts and drum fills. Too close, and you might feel cramped; too far apart, and you might struggle to reach them quickly. Experiment with different angles and distances to find what works best for your drumming style. Personalize your setup until you achieve the best angle and positioning for your comfort and performance.
Set Up the Floor Tom

Position your floor tom to the right of the bass drum for easy access.
Adjust its height so you can comfortably hit it without straining.
Make sure the legs are secure and the angle suits your reach and style.
Adjust Height Properly
Place the floor tom to the right of the bass drum, making sure it’s within comfortable reach. To adjust the height properly, start by loosening the adjustment knobs on the legs. Lift or lower the floor tom so the rim is around the same height as your snare drum when you’re seated. This helps guarantee a comfortable reach for your sticks, allowing for better stick control.
Next, angle the floor tom slightly towards you. This not only aids with stick control but also makes it easier to perform rolls and shifts between drums smoothly. Secure the legs firmly to prevent any wobbling during play.
To find the best position, experiment with different heights and angles. Here are some tips to guide you:
- Stability: Ensure the floor tom is secure by firmly inserting and adjusting the legs.
- Comfort: Adjust the height so the floor tom is neither too high nor too low.
- Accessibility: Make sure the angle allows for easy access without straining your wrists.
- Stick Control: Position the floor tom in a way that enhances your ability to manage the sticks effectively.
Position for Comfort
How can you guarantee maximum comfort while setting up your floor tom?
Start by positioning the floor tom to the right of your bass drum, where it’s within easy reach for smooth changes. This placement ensures that you can effortlessly move between drums without unnecessary strain.
Next, adjust the height of the floor tom so you can strike it comfortably without having to lift your arms too high or bend them awkwardly. Your goal is to maintain a natural and relaxed arm position while playing.
Angle the floor tom slightly towards you. This adjustment enhances visibility and accessibility, making it easier to see and hit the drum accurately. Additionally, it helps you maintain a more important posture, reducing the risk of discomfort or injury during extended play sessions.
Make sure that the floor tom’s legs are securely inserted and adjusted, providing stability and preventing any wobbling while you play. Stability is critical for maintaining control and consistency in your drumming.
Position the Crash Cymbals
Set your crash cymbals on the left side of your drum kit for quick and easy access during play. This placement allows you to strike them effortlessly, enhancing your performance. Adjust the height of the crash cymbals so you can comfortably reach them without straining. Ensuring they’re securely attached to their stands is essential to avoid any accidents during your performance.
Angle the crash cymbals slightly towards you. This positioning not only enhances visibility but also gives you better control as you play. Finding the best position might require some experimentation, so don’t hesitate to tweak the setup until it feels just right.
Here are some tips to help you get the best setup:
- Adjust height: Position the cymbals at a height that feels natural and comfortable.
- Securely attached: Double-check that all fittings and screws are tight to prevent movement.
- Angle towards you: Tilt the cymbals slightly for improved access and control.
- Experiment: Try different placements and angles to discover what works best for your playing style.
Set Up the Ride Cymbal

Position your ride cymbal to the right of your drum set, just above the floor tom, for easy access and smooth play. Make sure its height allows for comfortable reach, so you can play without straining. Typically, the ride cymbal should be positioned so your arm is naturally extended, enabling fluid motion when moving between drums and cymbals.
Secure your ride cymbal firmly on its stand with felt washers and wing nuts. This prevents any unwanted movement, ensuring stability as you play. The placement should feel natural and unobstructive, so experiment with different angles. Tilt the ride cymbal slightly towards you for ease of striking, but not so much that it hampers your drumming flow.
Don’t be afraid to adjust the positioning to suit your playing style. The ride cymbal’s placement should complement your technique, allowing you to reach it effortlessly without interfering with other parts of your drum set.
Ensuring the right height and angle will help you maintain a seamless playing experience, keeping your movements fluid and your drumming dynamic. Remember, the goal is to achieve a setup where your ride cymbal enhances your overall performance.
Adjust Drum and Cymbal Heights
When adjusting drum and cymbal heights, make sure each component is positioned to allow for a comfortable and ergonomic drumming experience. Start with the snare drum height. Ideally, the top of the snare should be at your waist level when you’re seated. This guarantees you’re not straining your wrists and allows for comfortable playing.
Next, focus on the toms. The toms’ height should be set so you can easily reach and strike them without overextending your arms. Keeping them within a natural arm reach helps maintain an ergonomic setup.
Cymbal height is important, too. Position your cymbals where you can strike them comfortably without overreaching or contorting your body. This reduces fatigue and the risk of injury during extended playing sessions.
Finally, adjust the bass drum pedal height. The pedal should allow for smooth and effortless playing, so test different heights until you find the most comfortable one for your foot placement and leg movement.
Remember these key points:
- Snare drum height at waist level.
- Toms height within easy reach.
- Cymbal height to avoid overreaching.
- Bass drum pedal height for smooth playing.
Experiment with these adjustments to find your most ergonomic setup.
Fine-Tune Drum Angles

After adjusting the heights, it’s important to fine-tune the angles of your drums for best reach and comfort. Start by focusing on the toms. Adjust the angle of each tom so they’re within comfortable reach. This helps to guarantee you can play without unnecessary strain on your arms or wrists.
Begin by tilting the toms slightly towards you. This positioning facilitates smoother and more natural drum fills, allowing you to move effortlessly around your kit. Experiment with different angles to find what feels right for you. Every drummer’s style is unique, so the ideal positioning may vary.
Keep the toms at a height where you can strike them easily. If they’re too high or too flat, you might end up straining, which can impact your performance. Adjust the angle until you find a sweet spot that feels natural.
Fine-tuning the drum angles isn’t just about comfort; it’s also about enhancing your overall drumming experience. Properly angled toms can make a significant difference in your playing, allowing for more fluid movements and better control. Take your time to get this part right—your future self will thank you.
Secure All Drum Hardware
Always make sure all drum hardware is securely tightened to prevent any movement while playing. This is essential for maintaining stability and ensuring a smooth drumming experience.
Start by using drum keys to adjust the tension rods on your drums. This keeps the drum heads tight and the sound consistent.
Next, pay attention to the wing nuts on your cymbal stands and other hardware. Regularly check and tighten them to avoid any parts coming loose.
Here are some tips to keep your drum hardware secure:
- Drum Keys: Use them to tighten tension rods, ensuring your drum heads stay in place.
- Wing Nuts: Regularly check these on cymbal stands to prevent hardware from loosening.
- Locking Mechanisms: Consider using these on stands for extra security.
- Positioning: Properly position and secure all hardware to enhance longevity and performance.
Test Your Drum Set

Now that your drum hardware is secure, test each piece to make sure proper sound and responsiveness. Start by striking each drum and cymbal individually. Listen carefully to confirm they produce the expected sound without any unwanted vibrations or rattling. These noises might indicate loose hardware or an improper setup. Make any necessary adjustments to eliminate these issues.
Next, check the positioning of each drum and cymbal. They should be within easy reach and arranged to suit your playing style. Adjust heights and angles to ensure you’re comfortable and can play efficiently. If you find yourself stretching or straining, re-evaluate your setup.
Move on to the pedals. Test both the bass drum and hi-hat pedals for smooth operation. If they feel stiff or unresponsive, adjust the tension or height. Making sure that your pedals work seamlessly is vital for maintaining rhythm and flow during your performance.
Next up, learn how to practice drums without a kit in this guide.
