


Him
Healthcare data jobs evolve beyond medical records—with 15% growth forecast and $67,310 median salary. The traditional HIM department is dying, but new career paths are flourishing.
News From the Music World
Numerous allegations of fake streams have emerged in a new class action lawsuit that names global superstar Drake as a prominent example of an artist…
Healthcare data jobs evolve beyond medical records—with 15% growth forecast and $67,310 median salary. The traditional HIM department is dying, but new career paths are flourishing.
Bad Bunny takes a dramatic tumble on a rain-soaked stage, but his devoted fans never missed a beat. The show thrived despite Mother Nature’s sabotage.
At 550 pounds, Jelly Roll faced death within months. Now 200 pounds lighter, his radical transformation challenges conventional weight loss wisdom. His deadline for Men’s Health’s cover approaches.
Imogen Heap’s Auracles now lets artists control whether AI can train on their music. SoundCloud partnership delivers metadata revolution while the industry struggles with attribution chaos.
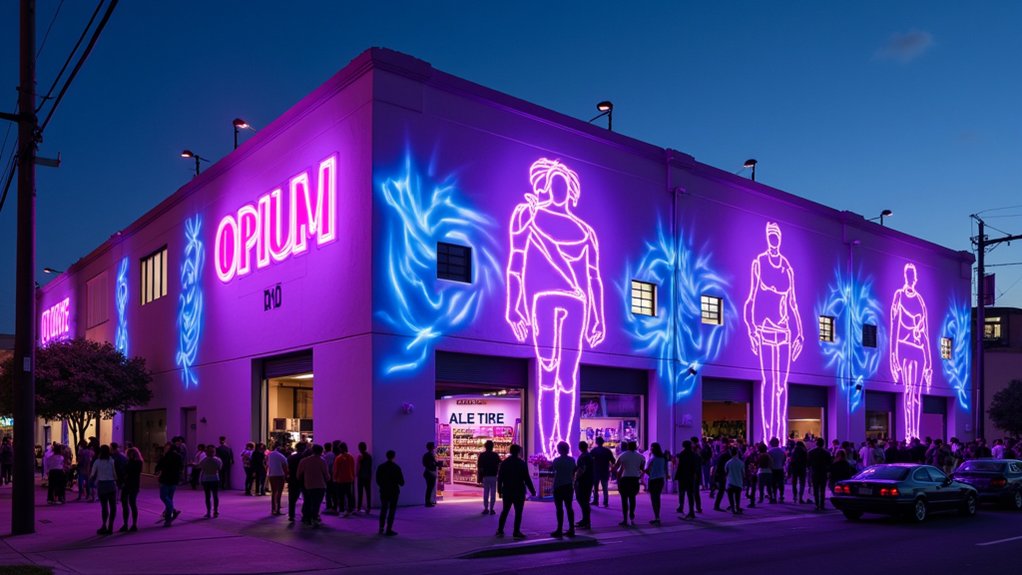
Playboi Carti collides with Fortnite at LA’s most outrageous pop-up featuring exclusive merch, live performances, and gaming battles. Will you score one of only 1,000 spots?
Cardi B flips the script on Saudi Arabia perception, praising Riyadh’s everyday life while suggesting it might be preferable to the United States. Her unscripted cultural journey contradicts Western narratives.
While mega-tours dominate, independent artists navigate a $638 billion events market with fewer opportunities. Billboard’s calendar reveals the industry’s surprising imbalance. The festival revival offers hope.
Las Vegas’s Sphere residencies aren’t just concerts—they’re mind-bending journeys through time. See Eagles, Zac Brown Band, and other icons transform music forever. Your favorite artists await.
What data visualization experts won’t tell you about pie charts—they’re hiding better alternatives. Five chart types that transform confusing numbers into crystal-clear insights. Your competitors already know this.
While music icons battle for awards, Tate McRae and Shaboozey quietly revolutionize industry norms with their nominations. Their unconventional path to success defies traditional career trajectories.